Playful

Monday, April 23, 2012

Spooning for letters- Water fun

   Today, I decided that we would play with water.  The children love water!  Here are a few tips that I suggest to make it go smoothly. 
  • Lay trash bags on the ground and then 2 layers of blankets over that. ( My trash bags were not even wet after the activity


  •  Remove their shoes.
  • You can remove their clothes. ( I didn't.)
  • Set expectations.  Be clear and brief. Trust me it helps!  Tell the children what they are doing with the water and what they are allowed to do with the water.  They were not allowed to pick up their bowl that is one reason why the older 2 had a larger bowl so that would not be able to lift it quickly.
  • Give each child their own bowl with a small amount of water.
  • Place letters, numbers, or other objects in the container.  For the 20 month old- as mentioned I gave her a smaller container, which had less water in it and it was deeper so it was difficult for her to get lots of water out.  It was easier for her to control as well.
  • As the children were scooping letters out I would tell them what letter they had and the sound or ask what color their letter was (with the younger 2).
  • The older one would spoon out her letters to make words. 
  • It always seems like these activities end with color sorting and pouring!  They cannot get enough.  That's okay.
  • It was laid back and relaxed.  I let them play and talk to me. 
  • You could also do the activity outside once it gets warmer.
  • We usually do this activity when it is rainy or too cold to go outside.


We had a great time! 

Saturday, April 21, 2012

Spring Wreath

      Last year I decided to make a rosette spring wreath.   After hanging on the door for a month it split in 2 pieces.  I was set to find a new wreath.  After spending the last year looking at stores for wreaths, I decided to make one.  I couldn't convince myself to spend $30-$40 on a wreath.

    I went into my craft closet and found a grapevine wreath I bought about year ago and was waiting until I got inspired to do something with it.  I grabbed felt (I had leftover from a Christmas tree I made in December), hot glue, wooden letter k, and jute.   Best of all I had everything I needed! 


Want to make one?  Here's how:

Materials:  a grapevine wreath, felt, scissors, hot glue, a letter, and jute
1.  I made the flowers using rolled felt flower tutorial tutorial.  It was so easy!  Literally it takes seconds to make.  I made 6 flowers. 
2.  I wrapped jute around the letter k.  After every couple wraps I would hot glue the jute onto the k.
3.  I laid out the letter and the flowers on the wreath until I liked where they were. 
4.  When I was happy with the placement I attached the flowers and letters with hot glue.
5.  Stand back and enjoy your masterpiece.


I love my wreath!  It was so simple, cheap, and easy to make.  It took me less than 30 minutes!  That is my favorite kind of project.


I'm linking to
i heart naptime
nifty thrifty things

Thursday, April 19, 2012

Flower art and learning activity for multiple skill levels

    Over the weekend, I purchased large and small paper plates.  I have become attached to paper plate art.  It is easy and cheap to make.  As I was looking at the small paper plate I couldn't help but see it as a flower. 
   My objective of this activity was to work on the letter f with the 2 year old for letter recognition and for C (2.5) I wanted to work on lowercase recognition of a different letter.  She knows most of her lowercase letters, but hesitates with about 4-5 of them.
  
Here's what I came up with: 
Flower 1: A fun flower craft.   C painted the inside of the flower yellow and the outside pink. I cut a stem from green paper and then added leaves. I love it so much I am definitely finding a place in my home for it!  


Flower 2: This flower is made using the same method as flower 1, but the child painted the middle yellow and the outside another color himself. It has a letter F in the middle for flower. I had the child point to the letter and make the f sound. My goal for this child is for him to identify the letter and make the sound.

Flower 3: For the flower part, I had the youngest paint with the Crayola mess free paint. I have to admit it is expensive and my 2.5 year old uses way too much of it, but for the 20 month old it is perfect and worth the extra money!  Before she started painting, I glued a yellow circle on the middle of her page and then had her paint around it. After she was done, I made a flower on the paper and cut it out, then she helped me glue the flower to the blue paper. She did have a letter F on her flower but she took it off, so I kept it that way.


Flower 4: For the flower part, C painted 2 flowers and then we connected them to the same stem. This one has lower and uppercase Q.    I did a short assessment to quickly identify which letters she needed extra practice with.   I took all the letters where the lowercase and uppercase letters are different ( i.e. she knows K and k and M and m and J and j etc) and asked her what each letter was while she was coloring. I learned she needed help with l (gets confused with i), q, b, d and g. She sometimes knows b and d but switches them around occasionaly which is a common mistake for children learning their lowercase letters. 


She was so proud of her art!
    I love the fact that I was able to work on each child's need all in 1 project! They all turned out so cute and none of them look alike.

I'm linking to
abc and 123
I can teach my child
tatertots and jello
no time for flashcards

Tuesday, April 17, 2012

Sidewalk Chalk Paint 2 ways

     Last week, I made sidewalk chalk paint for the kids.  I was  excited for them and couldn't wait to make it.  Once they started painting, I was shocked with how MESSY it was!   It would be fine for older kids, but for 2 and 3 year olds, it was all. over. them.  
     I mixed the paint in a muffin tin.  While the children were painting, the colors easily mixed together.   The muffin tin stayed in 1 place and the children all had to paint right by each other which frustrated one when others decided to paint on her picture.


   After the children were finished, I had a lot of paint left but all the colors were mixed together so I had to dump the paint out.  I felt like I used a lot of cornstarch for the paint and then dumped it out and was going to have to make the paint again when and if I decided to deal with the mess.  I felt bad because the children LOVED it!   One child sat in one place for 45 minutes and painted away. 
   
    After thinking about it for a couple days, I decided that I was determined to find a way to save the paint from getting mixed, getting all over the children, and having to dump it out after they finished.
   
     One day while the children were doing an activity it hit me.  Why can't I put the sidewalk chalk paint in an old glue bottle?  We go through glue so quickly with 3 little ones.  I could make the paint, re-use the glue bottle, and it would be a lot less messy.   I could have paint brushes available if they wanted to spread the paint out once it was on the concrete.  I gave it a try and the children loved it!  They enjoyed it more!   They were able to move around and choose where they painted.   They loved squeezing the bottle and watching the paint drop to the ground.


     I will say that this method does not wash off as easily with rain.  But it EASILY comes off by spraying water on it with a hose or watering can.   I spray the concrete when I water the trees or flowers.  
Materials
Cornstarch
water
plastic bottle (I used a glue bottle that I rinsed out).
food coloring

Directions
1. In a small bowl mix 1/3 cup of cornstarch and 1/3 cup of water together.
2. Once mixed, add a drop of food coloring and stir.
3.  Use a funnel to pour the paint mixture into a glue bottle.
4.  Enjoy!  The kids were so excited.  They went through it quickly, but it was cheap and easy to make so I don't mind.  It gave them something different to enjoy while playing outside
      After putting the paint in bottles, it was much cleaner for the 2.5 year old and 2 year old.  It was a little messy for the 20 month old, but cleaner than the paint in muffin tins.   One of the goals of this blog is to show how each activity can be modified for a variety of skill levels.  After doing this activity, I gave the 20 month old water in a bottle the next time we painted and she LOVED it!   That way if it got on her it would be clear when it dried and her clothes would stay clean.  Eventually, after she gains control with squeezing the bottle, she will get another opportunity use chalk paint in the bottle.
    Over the weekend, C wanted to paint.  I tried using the muffin tin method and it was cleaner the second time with her.  I think it helped that she was the only one using it.  She still prefers the bottle method. 


I'm linking up:
 ABC and 123 Blog hop
I can teach my child
christinas adventures
Gluesticks
Tidy mom
family ever after
tatertots and jello
nifty thrifty things
i heart naptime

Monday, April 16, 2012

Freezer-friendly chocolate chip cookies

     I love chocolate chip cookies.  I especially enjoy them when they are fresh out of the oven.


     Every month I make a double batch of cookies.  I bake about 6 of them and then I prepare the rest for the freezer.  Here is my process:

1.  Prepare the dough and bake the amount of cookies that you want now.  I usually bake 6.  1 for daughter, 2 for me during naptime, 2 for my husband, and another 1 for me to enjoy with my husband while he is eating his.  

2.  Make balls from the rest of the dough and place them on a plate.  Leave a little space between each one so they don't stick together.  Try not to eat all of them before you put them in the freezer.


3.  Place the plate in the freezer for 1-2 hours.


4.  Remove the plate and place the cookies in a freezer bag.  I label the bag with chocolate chip cookies and the date. (Not that mine will ever be in the freezer long enough to be thrown out!)   I have a HUGE sweet tooth and no self-control. For me, it helps to have to bake the cookies and  have a small amount in the upstairs freezer.  I keep the rest of the bag in our deep freeze (2 levels below our kitchen).  By cooking a small amount it keeps them out of sight of the children so they don't beg me for them all day.


5.  When you are craving cookies or having company, turn on the oven to 325 degrees, (I usually bake at 350 because I forget the recipe I use calls for 325 degrees), pull out your silicone baking cover (or spray the pan), baking pan, take 2-6 frozen balls out of the freezer, place them on the pan, and bake for about 20-22 minutes. 


     This method is great for unexpected company, you can easily bake fresh homemade cookies and your guests will have no idea that they were pulled out the freezer and popped in the oven right before they walked in the door.
   
Right now here is my favorite chocolate chip cookie recipe:
Thick and Chewy Chocolate Chip Cookies
2 cups plus 2 tbsp. all-purpose flour
1/2 tsp. baking soda
1/2 tsp. salt
12 tbsp. unsalted butter, melted and cooled until warm
1 cup brown sugar, packed
1/2 cup granulated sugar
1 large egg plus 1 egg yolk
2 tsp. vanilla extract
1 1/2 cups semi-sweet chocolate chips ( I have also used chocolate chunks)

Directions:
Adjust oven racks to upper and lower-middle positions. Preheat oven 325°. Line two cookie sheets with parchment paper.
Whisk dry ingredients together in a medium bowl; set aside. With electric mixer, or by hand, mix butter and sugars until thoroughly combined. Beat in egg, yolk, and vanilla until combined. Add dry ingredients and beat at low-speed just until combined. Stir in chocolate chips.
Roll a scant half-cup of dough into a ball. Holding dough ball in fingertips of both hands, pull apart into two equal halves. Rotate halves 90 degrees and, with jagged surfaces facing up, place formed dough onto cookie sheet, leaving ample room between each ball. Bake, reversing position of cookie sheets halfway through baking, until cookies are light golden brown and outer edges start to harden yet centers are still soft and puffy (approximately 11-14 minutes). Do not overbake. 
Please note 11-14 minutes is for unfrozen cookies.  20-22 minutes is the amount of time for frozen cookies. 

Cool cookies on sheets until able to lift without breaking. Transfer to a wire rack to cool.


I'm linking to


Saturday, April 14, 2012

Cardboard box fun!

     Do you ever have one of those days where your trying to get something done (like cleaning up lunch) and the kids are  not getting along?  Well... today was one of those days!  When I have a moment like that...I stop...and think about what I can get out that will distract the kids and keep them busy and happy so I can finish cleaning up the kitchen. 

     C loves playing with flashcards.  Her definition of playing with them by herself is throwing the cards all over the place. 

     It drives me crazy!  What a mess!

   To save my sanity and get lunch cleaned up in a timely manner  I was trying to think of an idea that the kids could have fun doing, but would also solve the problem of the cards all over the kitchen.

     I remembered I had a diaper box in the garage, so I got it, and taped the top if it shut with painters tape (because that's what I had).  And then I took a knife and made a slot on each side of the box


     As I was doing this the kids were already grabbing the cards and were anxiously awaiting to drop them in the box. 

     Next, I made a flap on one side of the box that the kids could open easily to get the cards out.


    Then I placed the box on the floor and soon the kids were doing this


     It was bliss!  They instantly started laughing, talking, and taking turns dropping the cards in the box.

     Within seconds, the floor looked like this


    Ahhh...Clean floor how I love you!

    The box kept them happy and entertained for 15 minutes

    When my daughter woke up from her nap later she spent another 15 minutes playing with it independently.

   In the evening, she was playing with it again.  As she would drop a card in it, I asked her questions such as "What letter is that in your hand?  What number do you have?  Or what color is on the card?"  I love that this activity can be fun and independent and can also be a learning activity.  It was so cheap and easy to make which is the best part!  I didn't have to go to the store and buy anything.


I'm linking to I can teach my child

Wednesday, April 11, 2012

Take 2

In my previous career, I taught 4th grade.  As a teacher, we are taught to constantly reflect on everything and ask ourselves,  "How we would do it different next time?"   Well...every time I walked in the bathroom I saw a failed attempt at art.  It BUGGED me!  This is what I saw:


      Yikes!  Do you see what I see?  The lines are uneven and bumpy.  Honestly, I would be embarrassed for an adult to use that bathroom and see my poor attempt at art.
  
    After looking at it for a week, I decided to try it again.  I loved the color and coziness that it brought to the bathroom even though it looked sloppy.

   This time I went back to the original source to see what I did wrong.  I noticed they spray painted the canvas all one color instead of using a paint brush like I did.  I wanted to use blue, green, and lavender to coordinate with the rug and the shower curtain in the bathroom.  I decided to see if I could do a couple of things differently before I made the choice to spray paint using 1 color.
      
    For attempt 2, I used the same width tape instead of cutting a thicker tape which left crooked lines the first time.  Then,  I went around each edge of the tape and pressed it down with my finger to ensure that the  tape was sealed tightly.  As I was painting, I continued to press down the edges of the tape and painted gently around the edges hoping for smoother lines.  I painted 2 coats of paint of each color and let it dry about 2 hours between each coat.  Then, I made sure it was dry and took the tape off and Ta Da!


Do you see what I see? Smooth lines! I am so happy with how the 2nd attempt turned out.   I am thinking about a larger one for our family room downstairs in the future.  We shall see.


     Overall, the painting was cheap to make.  I spent $7 for 2 canvases at Wal Mart. I already had the paint.   If I knew it was going to turn out great the second time, I would have bought a bigger canvas.  Eventually, I plan on adding the other one next to it when I decide what I want on it. 
    
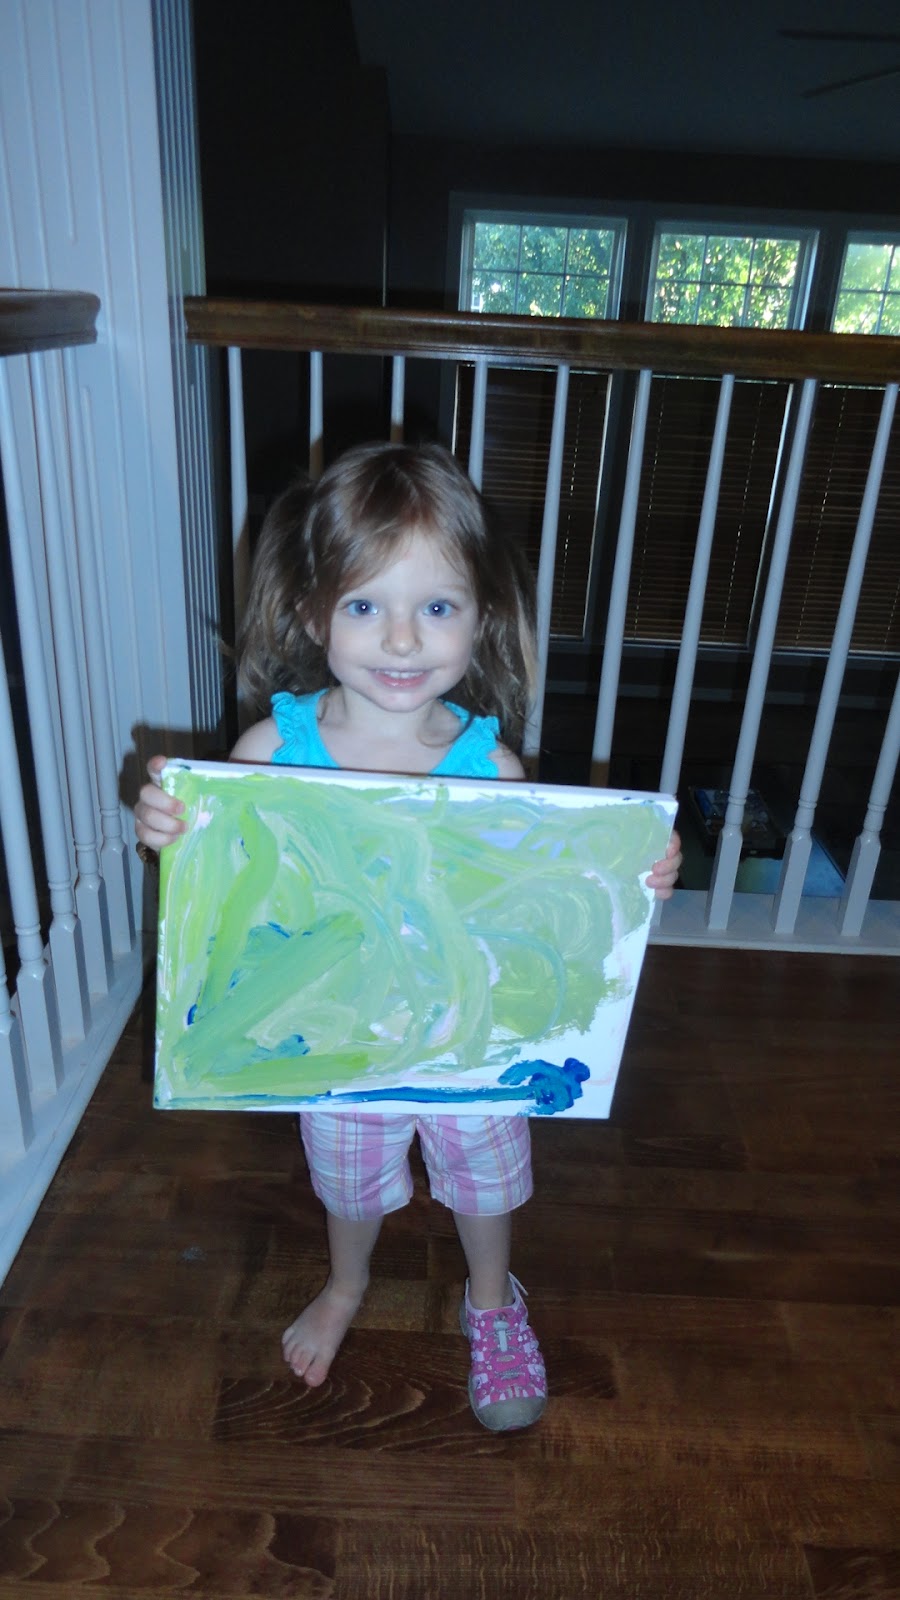
     I am all about getting kids involved with creating art.  With the help of an adult this would be an easy project for a 9-12 year old to do.  They could create a piece of art for their room or for their grandparent.  I let my 2 year old daughter free paint the other canvas while I was painting mine.  She loved it!


I could not seem to keep both of her shoes on today.  This was the third time she was walking around with one shoe off and one shoe on.