Playful

Showing posts with label cheap. Show all posts

Tuesday, April 24, 2012

Happy Birthday Banner

     Today is my mother-in-law's Birthday. We were unable to travel for her Birthday this year.  I wanted to make her a special box filled with things C and I created and mail them (more to come soon!) so she would have something to open on her Birthday.  
     The banner is the first of several items that I created for her box. 


     Here is how I made the beautiful banner. I used this tutorial for guidance. I had 8 x 11 colored paper in my closet so I used that where the tutorial uses scrapbook paper.

Materials
  • paper for your pennants
  • ruler
  • paper cutter or scissors
  • jute
  • letters (you can make your own or buy them)
  • 3 pictures (optional)
Directions
1. Decide what paper you want to use.   I chose 8x11 paper in green, blue, yellow, orange, and purple.

2.  Measure a 4x6 rectangle on a sheet of paper.

3.  Cut it out.


4. Fold your paper in half hot dog style (lengthwise).


5. Open up your paper and at the top left corner, top right corner , and bottom center fold line mark an x.
6. You will make a cut connecting the upper left x with the middle x and the upper right x with the middle x. I used a paper cutter. If you don't have one, scissors will work, but your cut might not be as straight. Label that triangle Sample.


Label that triangle Sample.

7. Grab a sheet of paper you chose to use and fold it in half hamburger style or greeting card style. Place your sample on the fold and trace. Then cut out where you traced. Do not cut the fold. You are done if you want 1 layer!   If you want more than 1--continue reading.

,


8. After looking at it, I decided to make another layer. This time I measured 3 x 4.5 on a different colored paper. I used the same technique that I did for the first one but smaller measurements. Use steps 2-7.

9. I attached the smaller pennant to the larger pennant using a glue stick.

10. For lettering, I chose to use Alphabet stickers that I bought at Wal Mart for $3.  I chose a letter and placed it on the banner.  I wanted it to say Happy Birthday.


11.  After I finished attaching the letters to the pennants, I wanted to add a picture of C eating a cupcake that we made especially for Grandma.  We put a different picture on each pennant, 1 in the beginning, middle, and end.  I love the special touch that it adds to the banner. 


12. I attached the pennant with jute. The tutorial used double sided tape.   I tried using the tape and my pennants were falling off  so I got out the hot glue and attached the flags with glue.   I took the banner all over the house, hung it up outside, and it even withstood love from my 2 year old so I am confident with the banner staying in 1 piece.


13. Hang it up and stand back and admire your work of art.


I love how it turned out! Grandma will be thrilled to receive it. 


I'm linking to
Home stories A 2 Z
Funky polkadot Giraffe
Not just a housewife
someday crafts
Blue Cricket Design
house of hepworths
Christina's Adventures
young and crafty
I heart naptime


Pin It

Monday, April 23, 2012

Spooning for letters- Water fun

   Today, I decided that we would play with water.  The children love water!  Here are a few tips that I suggest to make it go smoothly. 
  • Lay trash bags on the ground and then 2 layers of blankets over that. ( My trash bags were not even wet after the activity


  •  Remove their shoes.
  • You can remove their clothes. ( I didn't.)
  • Set expectations.  Be clear and brief. Trust me it helps!  Tell the children what they are doing with the water and what they are allowed to do with the water.  They were not allowed to pick up their bowl that is one reason why the older 2 had a larger bowl so that would not be able to lift it quickly.
  • Give each child their own bowl with a small amount of water.
  • Place letters, numbers, or other objects in the container.  For the 20 month old- as mentioned I gave her a smaller container, which had less water in it and it was deeper so it was difficult for her to get lots of water out.  It was easier for her to control as well.
  • As the children were scooping letters out I would tell them what letter they had and the sound or ask what color their letter was (with the younger 2).
  • The older one would spoon out her letters to make words. 
  • It always seems like these activities end with color sorting and pouring!  They cannot get enough.  That's okay.
  • It was laid back and relaxed.  I let them play and talk to me. 
  • You could also do the activity outside once it gets warmer.
  • We usually do this activity when it is rainy or too cold to go outside.


We had a great time! 

Saturday, April 21, 2012

Spring Wreath

      Last year I decided to make a rosette spring wreath.   After hanging on the door for a month it split in 2 pieces.  I was set to find a new wreath.  After spending the last year looking at stores for wreaths, I decided to make one.  I couldn't convince myself to spend $30-$40 on a wreath.

    I went into my craft closet and found a grapevine wreath I bought about year ago and was waiting until I got inspired to do something with it.  I grabbed felt (I had leftover from a Christmas tree I made in December), hot glue, wooden letter k, and jute.   Best of all I had everything I needed! 


Want to make one?  Here's how:

Materials:  a grapevine wreath, felt, scissors, hot glue, a letter, and jute
1.  I made the flowers using rolled felt flower tutorial tutorial.  It was so easy!  Literally it takes seconds to make.  I made 6 flowers. 
2.  I wrapped jute around the letter k.  After every couple wraps I would hot glue the jute onto the k.
3.  I laid out the letter and the flowers on the wreath until I liked where they were. 
4.  When I was happy with the placement I attached the flowers and letters with hot glue.
5.  Stand back and enjoy your masterpiece.


I love my wreath!  It was so simple, cheap, and easy to make.  It took me less than 30 minutes!  That is my favorite kind of project.


I'm linking to
i heart naptime
nifty thrifty things

Saturday, April 14, 2012

Cardboard box fun!

     Do you ever have one of those days where your trying to get something done (like cleaning up lunch) and the kids are  not getting along?  Well... today was one of those days!  When I have a moment like that...I stop...and think about what I can get out that will distract the kids and keep them busy and happy so I can finish cleaning up the kitchen. 

     C loves playing with flashcards.  Her definition of playing with them by herself is throwing the cards all over the place. 

     It drives me crazy!  What a mess!

   To save my sanity and get lunch cleaned up in a timely manner  I was trying to think of an idea that the kids could have fun doing, but would also solve the problem of the cards all over the kitchen.

     I remembered I had a diaper box in the garage, so I got it, and taped the top if it shut with painters tape (because that's what I had).  And then I took a knife and made a slot on each side of the box


     As I was doing this the kids were already grabbing the cards and were anxiously awaiting to drop them in the box. 

     Next, I made a flap on one side of the box that the kids could open easily to get the cards out.


    Then I placed the box on the floor and soon the kids were doing this


     It was bliss!  They instantly started laughing, talking, and taking turns dropping the cards in the box.

     Within seconds, the floor looked like this


    Ahhh...Clean floor how I love you!

    The box kept them happy and entertained for 15 minutes

    When my daughter woke up from her nap later she spent another 15 minutes playing with it independently.

   In the evening, she was playing with it again.  As she would drop a card in it, I asked her questions such as "What letter is that in your hand?  What number do you have?  Or what color is on the card?"  I love that this activity can be fun and independent and can also be a learning activity.  It was so cheap and easy to make which is the best part!  I didn't have to go to the store and buy anything.


I'm linking to I can teach my child

Wednesday, April 11, 2012

Take 2

In my previous career, I taught 4th grade.  As a teacher, we are taught to constantly reflect on everything and ask ourselves,  "How we would do it different next time?"   Well...every time I walked in the bathroom I saw a failed attempt at art.  It BUGGED me!  This is what I saw:


      Yikes!  Do you see what I see?  The lines are uneven and bumpy.  Honestly, I would be embarrassed for an adult to use that bathroom and see my poor attempt at art.
  
    After looking at it for a week, I decided to try it again.  I loved the color and coziness that it brought to the bathroom even though it looked sloppy.

   This time I went back to the original source to see what I did wrong.  I noticed they spray painted the canvas all one color instead of using a paint brush like I did.  I wanted to use blue, green, and lavender to coordinate with the rug and the shower curtain in the bathroom.  I decided to see if I could do a couple of things differently before I made the choice to spray paint using 1 color.
      
    For attempt 2, I used the same width tape instead of cutting a thicker tape which left crooked lines the first time.  Then,  I went around each edge of the tape and pressed it down with my finger to ensure that the  tape was sealed tightly.  As I was painting, I continued to press down the edges of the tape and painted gently around the edges hoping for smoother lines.  I painted 2 coats of paint of each color and let it dry about 2 hours between each coat.  Then, I made sure it was dry and took the tape off and Ta Da!


Do you see what I see? Smooth lines! I am so happy with how the 2nd attempt turned out.   I am thinking about a larger one for our family room downstairs in the future.  We shall see.


     Overall, the painting was cheap to make.  I spent $7 for 2 canvases at Wal Mart. I already had the paint.   If I knew it was going to turn out great the second time, I would have bought a bigger canvas.  Eventually, I plan on adding the other one next to it when I decide what I want on it. 
    
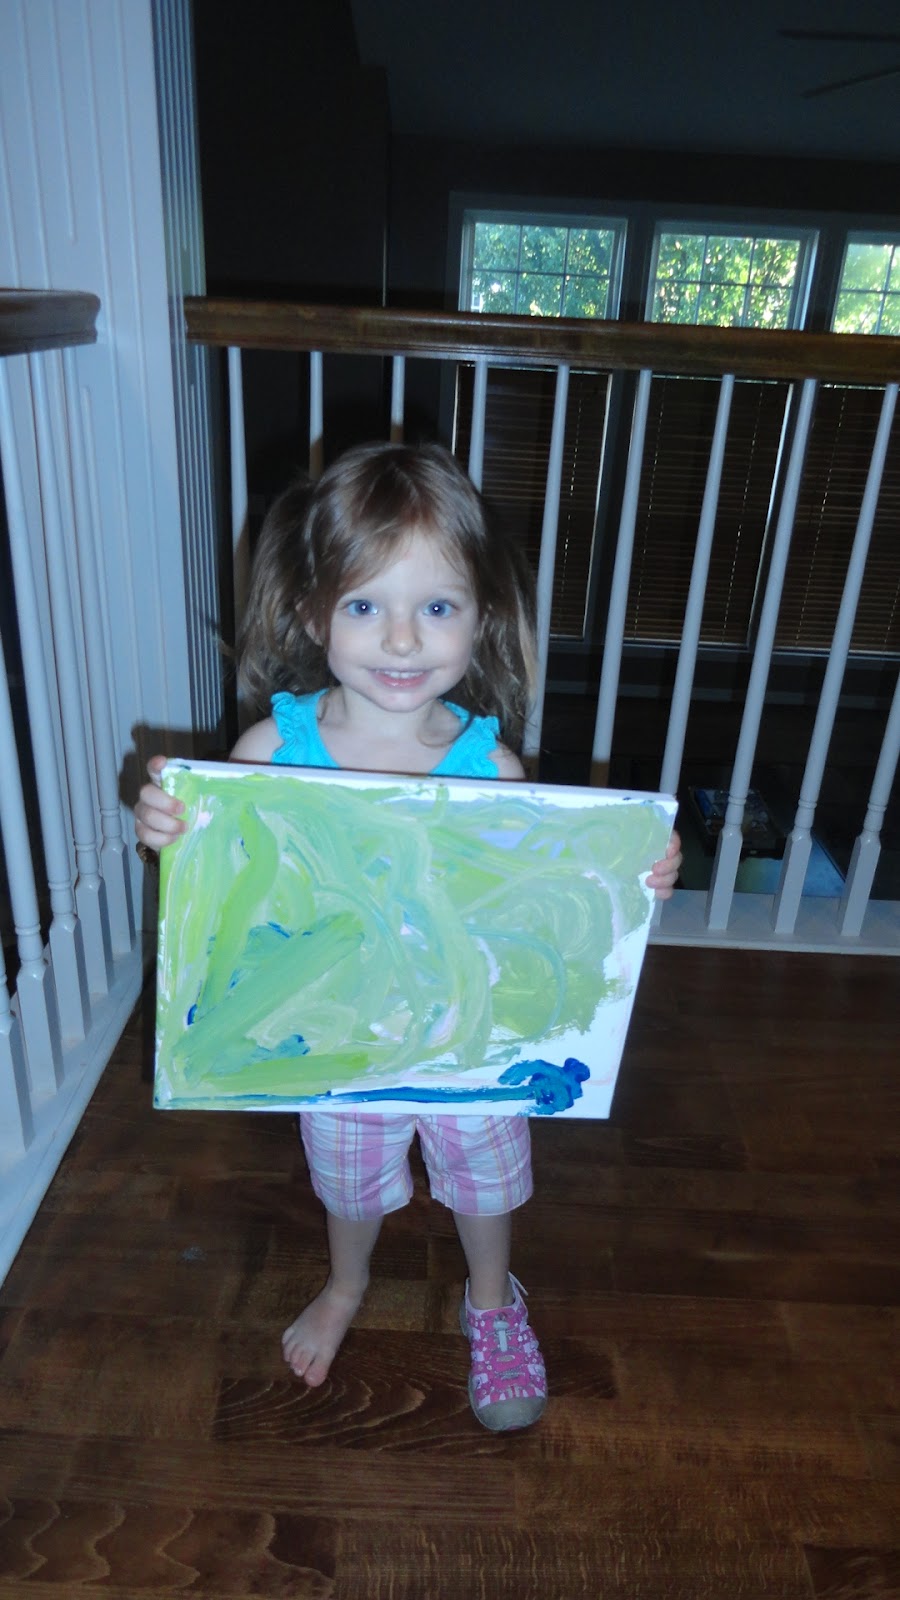
     I am all about getting kids involved with creating art.  With the help of an adult this would be an easy project for a 9-12 year old to do.  They could create a piece of art for their room or for their grandparent.  I let my 2 year old daughter free paint the other canvas while I was painting mine.  She loved it!


I could not seem to keep both of her shoes on today.  This was the third time she was walking around with one shoe off and one shoe on.