Playful

Saturday, June 16, 2012

Popsicle Sidewalk Chalk

     Today I am going to share with you the perfect outdoor summer activity.


     After  looking at this, from Brittany, at Buttons, Birds, and BS it inspired me to create Sidewalk Popsicle Chalk Paint.  In the past we have painted with chalk paint  and the kids loved it!  I knew they would love this as well and they did!

Sidewalk Popsicle Chalk Paint
You will need:
  • ice cube tray
  • bowls for mixing
  • water
  •  cornstarch
  • stirring utensils
  • food coloring
  • popsicle sticks (Britney also used straws)
  • Liquid measuring cup (or something to pour liquid easily in ice cube tray)
Add 2 Tablespoons of cornstarch in a bowl

Then add 2 Tablespoons of water and stir.

Add a few drops of food coloring and stir.

Pour mixture into liquid measuring cup

Pour liquid into ice cube tray

 Add popsicle sticks.

I froze for 3 hours and then transferred to plate to play outside and have a blast!!
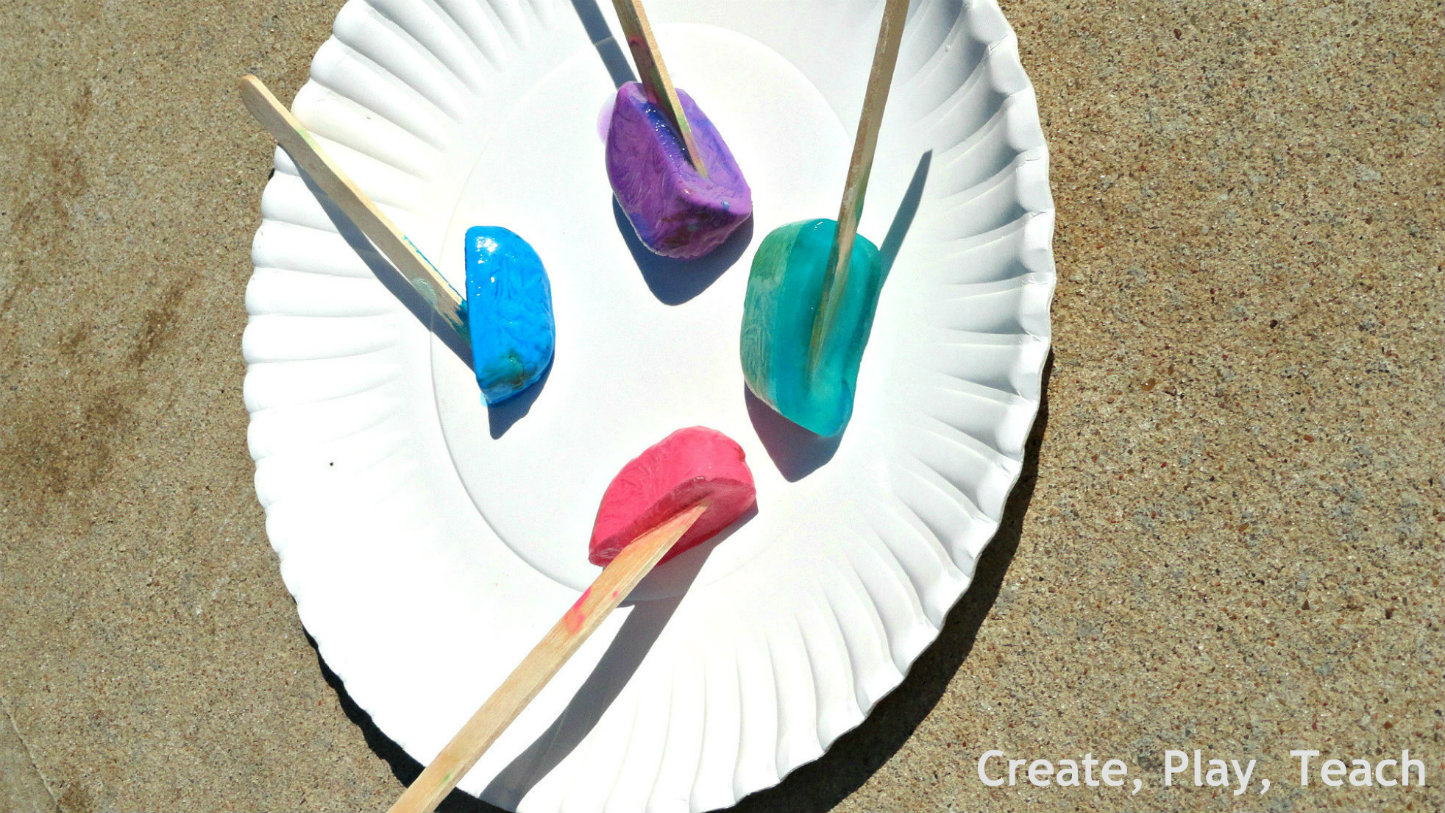


C had fun painting this brick.  I loved that the paint disappeared when I dumped water on it!


C ran and threw a tantrum when we were out of paint.  She was not happy!  


    The popsicle sidewalk chalk cleaned up easy with the garden hose.   I  sprayed water on the concrete to wash the paint off when I watered the garden that night.

    We had a blast painting with Popsicle Sidewalk chalk!  I hope you try it with your kids.  They will love it!

Thanks for stopping by!

Shawna

Thursday, June 14, 2012

Kids Activity Closet Overhaul

    Wow!  This closet has definitely seen better days.  I organized this closet about 6 months ago and it looked okay for a while but I decided that the $1 open baskets  from Dollar Tree were just not working.  They do not stack nicely.  They will work for some areas in my house possibly my closet but not this place. 


      Now, the good thing is I have kept most of the stuff together.  For example, all the play dough is with all the play dough.  All the stickers are mostly all together.  The paper is all together.  But nothing stacks and everything is different sizes so it looks awful.  Some of the containers are too small for what I had in them so items are overflowing.  Every time I open this closet I get frustrated. 

    
    So I took everything out of the closet and got to work.  Because this door is in a hallway and can be opened by children, I need to put things that are okay (well not okay, but won't harm them or be annoying to pick up) if they get it out on the lower shelves. 

      I already store items such as colors, glue, drawing paper, and paint in a kitchen cabinet because those are items we use 1-3 times a day.  But other items, sensory activities, play dough, art materials, construction paper, puzzles, stickers and much more are stored in the hallway closet. 

  I plan on moving my books and folders into the office shelves.  I do not use them very often.  They are taking up valuable space storage space.
   I  plan on keeping a bin that stores our projects.  That way a year from now I can see what we made.  And re use the idea in a few years or with a new set of kids.  

Here are the before and after pictures

Top shelf before

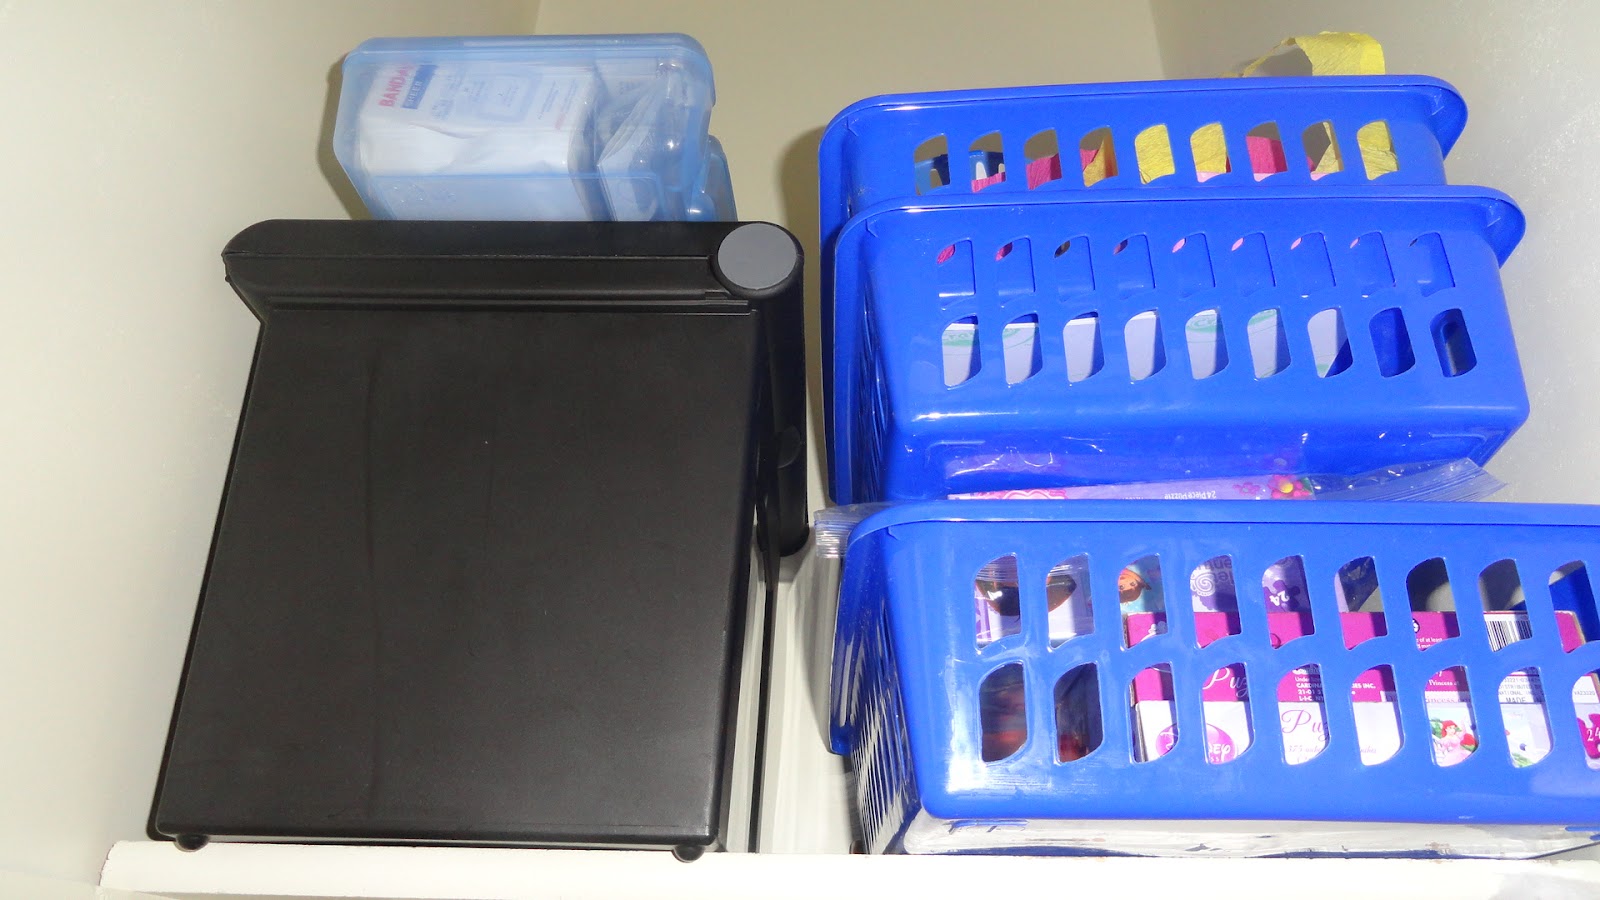
 After
    
     Although, I still have items stacked on top of each other.  They stack nicely.  These are activities that we use occasionally maybe 1-2 times a week.  I am a taller person so I can easily reach this shelf without using a step ladder.

Second from top shelf before

After

I moved the paints into a cabinet in the kitchen because we use them daily right now. 

Third shelf before

After
Wow! So much better. 

Bottom shelf before

Because this is the bottom items got shoved easily into this place. I have put empty containers that we use for exploring and a clothing container for each of my Childcare kids.  
After

   I love the new organized closet.  After organizing the closet again I realized it looked much worse than it was.  The main problem was the containers were open and were all different sizes.  But I am so happy I did re-organize it because I smile when I open the closet instead of frown.

Pin It

Tuesday, June 12, 2012

Homemade Lara Bars

      I love Lara Bars, but for $1 for 1 bar  their expensive.  I enjoy them because they are healthy, filling, and delicious.  They can easily be gluten and dairy free, which is a requirement around here these days.   I can eat one and be satisfied for a couple of hours and that's saying a lot.  I found this recipe here and changed it a little to my liking.


Here's how we made them

Ingredients
  • 1 package of Dates ( I use Sunsweet, you don't want a dry date.  I have used cheaper dates and the bars are drier and crumble.)
  • 1 cup of raw almonds
  • 1/4 cup of chocolate chips ( I used Enjoy life Dairy free, Gluten free, and soy free)

Get out your food processor


You will need almost 1 package of dates.  ( I had about 5 dates leftover from 1 package).  The more dates you have the softer and better your bar will hold together.  You can experiment with what works best for you.

1 cup of Almonds

Pour your dates and almonds in a food processor and pulse away.


Next add 1/4 cup of chocolate chips


Your little helper may want to have a bite or 2.


Dump mixture into pan.  I don't think you need to, but I always spray mine and have not had any problems with sticking.


Smooth the mixture in the pan.  I place in refrigerator about an hour to set.
Then slice into bars and enjoy!


I hope you make these and enjoy them as much as we do!  They are quick to make, easy,  filling, and help curb those late afternoon snack cravings.

Thanks for stopping by!

Shawna

Organize and Decorate Everything