Playful

Showing posts with label preschool. Show all posts

Friday, July 6, 2012

Counting Fun with Fish

     Today I am going to share a counting activity with you.  I found inspiration here.  The kids had  fun painting, counting, and singing.   This project has a secret that I added...read on


Here's how we made it

Materials
  • Velcro
  • card stock for bowl
  • cardboard for fish
  • numbers (or marker to write the number)
1.  Draw a fish pattern on a piece of paper and cut it out.


2.  Trace the fish on cardboard.  I made 5 fish for each child and then a couple extra.  (When working with kids things seem to disappear or tear and it's much easier to make a couple extra when your making all of them than to have to go back and make the part that's missing.) 

3.  Cut out the fish and attach soft, furry Velcro on the back of each fish.  (Yep that's the secret!  Children can remove the fish) 

.
4.  Draw a fishbowl and cut it out.  The stronger the paper the better!  If you have extra cardboard that would be best.   (Or if you can laminate it that would work great too, but do step 5 first).

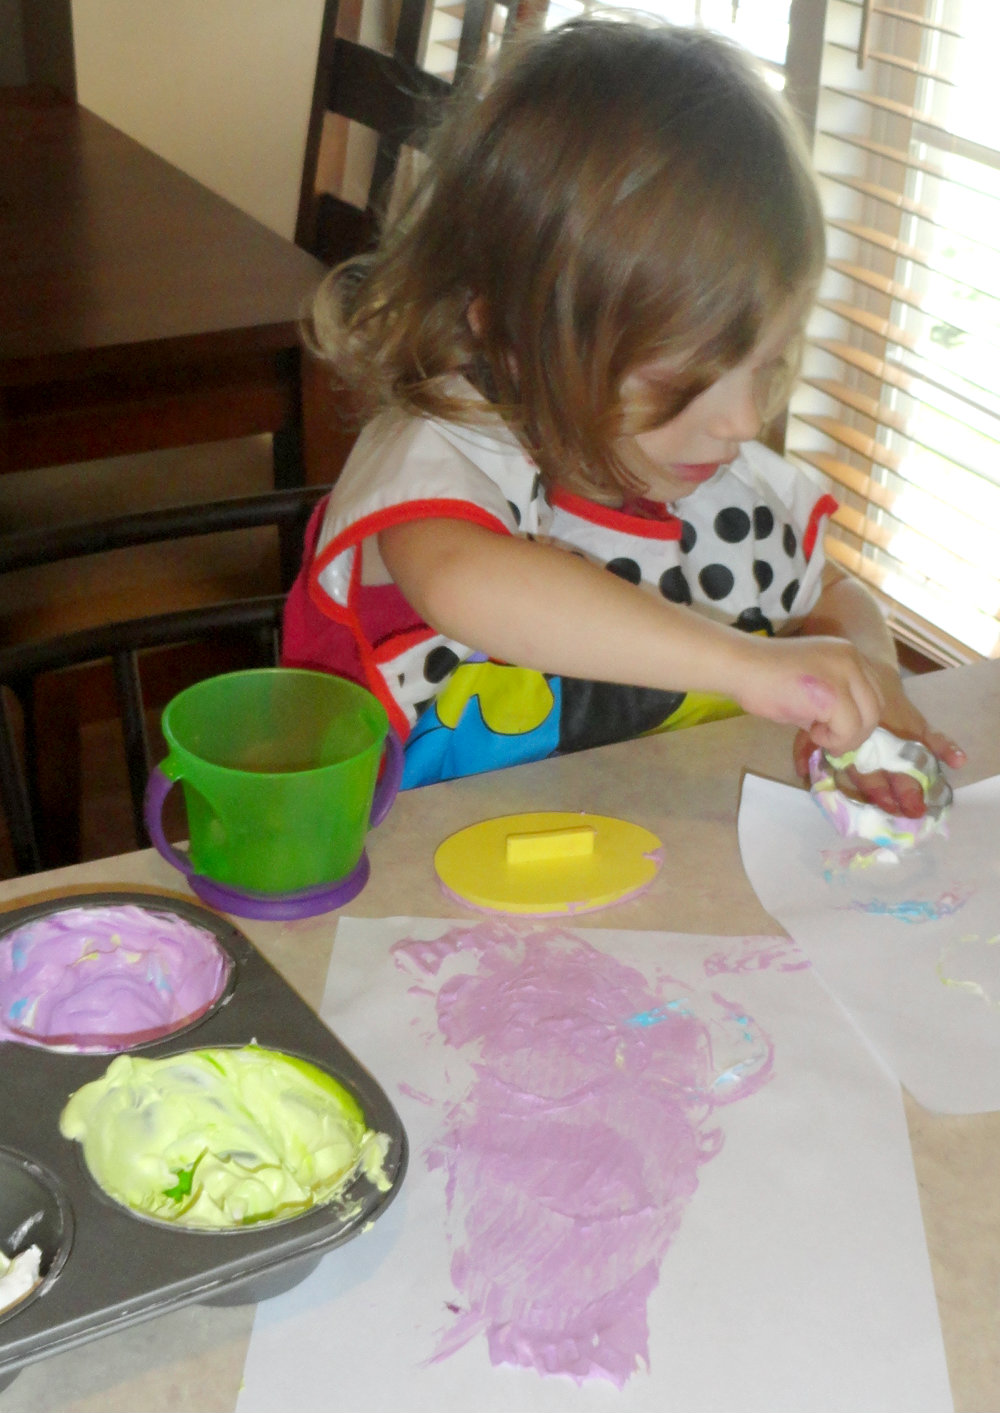
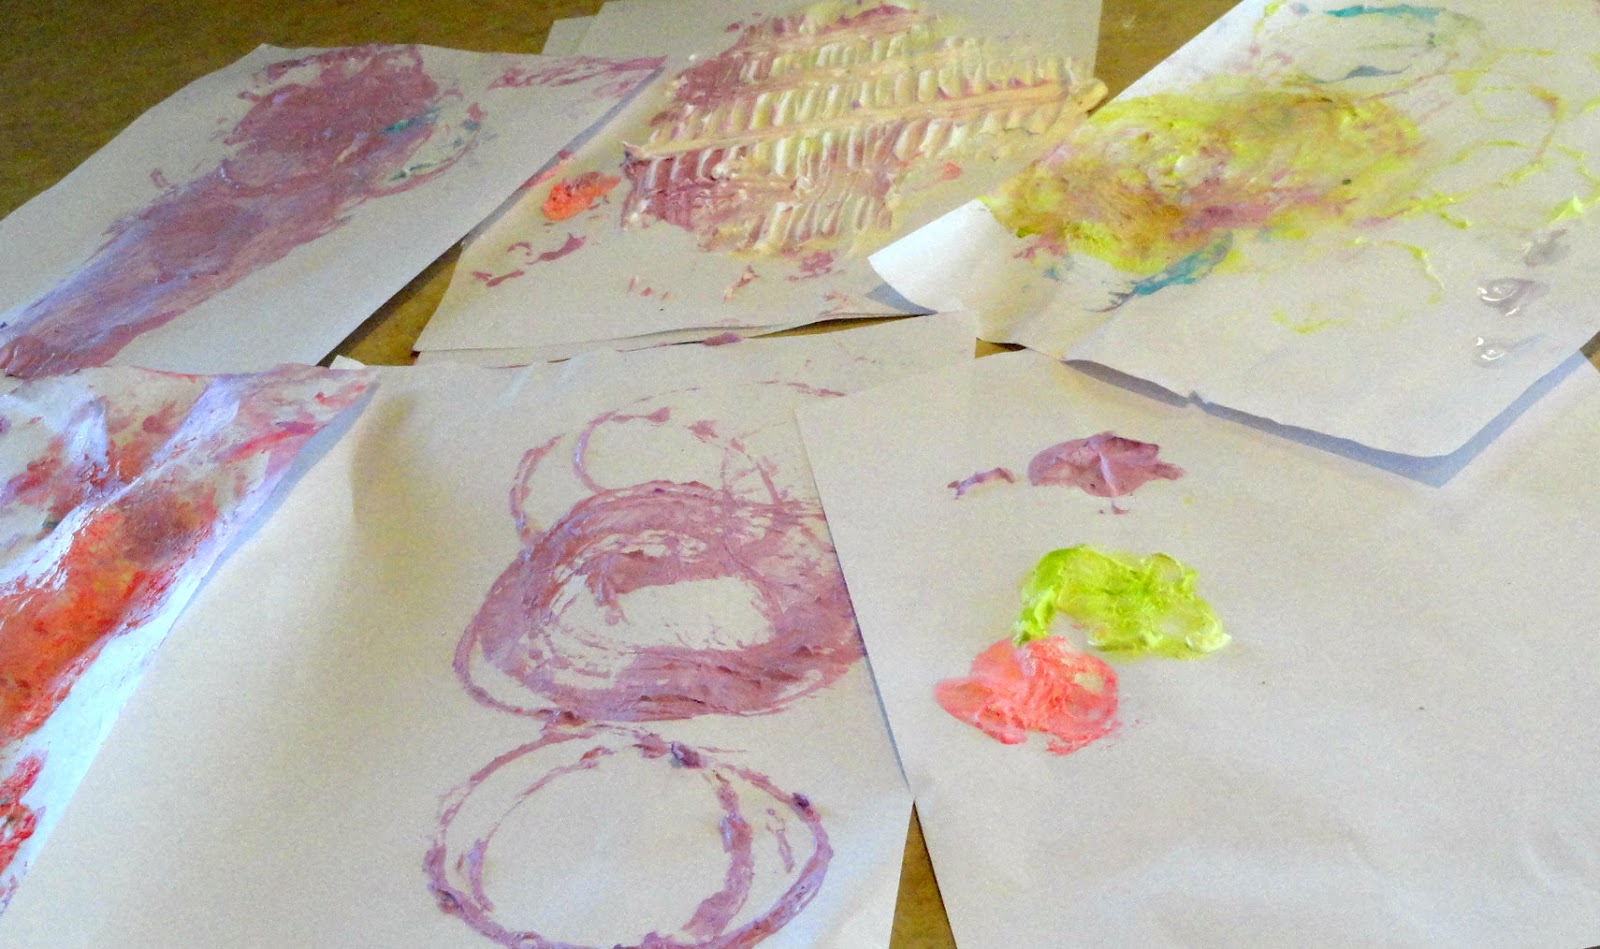
5.  Have your child paint the bowl blue, coloring, or markers would work fine. I knew for best coverage for my children paint is the easiest.


6.  Put numbers on the fish.  You can do it or have them do it.  My children loved doing it and they were saying the numbers as they were putting it on. It was great number practice.


7.  Let the bowl dry for several hours, overnight would be the best.  (I didn't and we had one wounded).

8.  Place the rough Velcro circles on the bowl once it is dry.


9. Have children place the fish on the Velcro and show them how you can remove them.  Sing the counting song posted below.  I used the children's fish and put them in a pile and counted with them while singing the song. They loved it!  Be prepared to do the song over, and over, and over again.

    
      For snack, we had goldfish crackers.  While they were eating, I was singing the song and would take one of their crackers away.   They just laughed and laughed.


Sidenote:  C's bowl has an extra velcro on it  because after we were finished she saw the extra fish that I made and wanted to put the number 8 on there.  I went ahead and let her.  She can count to 10 easily so is not confused by seeing 1-5 and then 8.

Counting song
1, 2, 3, 4, 5  I caught a fish alive
6, 7, 8, 9,10 I let it go again
Why did you let it go?
Because it bit me so. ( I add a sound effect "ouch!"  Kids loved it.)

Thanks for stopping by! 

Shawna


Pin It

Thursday, June 21, 2012

Letter fun with silverware

   The other day while C was eating lunch she said, "Look mommy, I made the letter T."


 She had made the letter with her silverware.    She was so proud.

Next, she wanted to make the letter X


After trying to make an X from memory, she asked me to make an x with my silverware so I did.


Then she wanted to make a letter A.

She realizes here that she will need another piece of silverware so she asked me for one and I got it for her.


She's so proud of her letter A!

Then she made a Y.


 Next up, an H.

I love watching her learn and watching her impress herself.  Her imagination and creativity amaze me everyday.   This activity is great for motor skills and letter formation.  Although she cannot write letters yet, it is nice to know that she knows what they look like and can form most of them from memory.  This is an excellent pre-writing activity.  

Thanks for stopping by!
Shawna

Monday, June 4, 2012

Painting with Cool Whip

Today we painted with Cool Whip.  It was so much fun!  I noticed I had a tub in my freezer that has been there for months so I thought it would be a fun way to use it up.


Here's how you do it

Materials

  • Cool whip
  • food coloring
  • paint brushes, cookie cutters, combs

Put the cool whip into the muffin tin.  I had C and K do it.  Notice they had nothing in the pan at first.


 She learned quickly how to scoop more cool whip up and put it in the pan.


Add food coloring.  (You can choose to do it yourself, but C and K do a great job of adding 2-3 drops.   I have a high patience tolerance when it comes to kids). 


Start painting.  I had spoons, cookie cutters, combs, and paintbrushes for them to explore with.


Hmm...what happens when you fold the paper?


Wow!  Look at that!


 Let's try that again.


So excited at her new pictures.


She had so much fun!  Her hair proves it!


I'd say the pictures are proof.

We had so much fun painting with Cool Whip.  You should try it!  

Thanks for stopping by!

Shawna
                                 

Thursday, May 24, 2012

Transportation Beginning Sound Activity

     Several years ago I found  transportation cut-outs at the dollar tree.  And while I had yet to used them, I was saving them for when the idea struck me. 

    First, we sat in a circle and I showed the kids a vehicle and we talked about what it was and what sound it made.  The kids loved grabbing them and telling me what color each one was and making the sound.  

    Next, I laid them on the floor and got the letters out.  


I asked C what each vehicle started with  and she would go to the letter pile, find the letter, and then place the letter on the car.


Next we did helicopter.  She went and got the letter H and placed it on the helicopter.


M is for motorcycle


T is for train.  Then we took it up a notch and added an r to the t and worked on the blend tr.  She did such a great a job!

     This activity is wonderful for working on beginning, middle, or ending sounds.  The child sees the object and puts the letter sound that your working with on that object.  It's a great hands-on activity.  

Thanks for stopping by!  

Shawna

Thursday, May 17, 2012

Lion puppet-2 day project with toddlers

     This week we are working on the letter L. C loves making animals and puppets so I decided to make a lion puppet.  I saw this and thought it was cute, but I wanted to turn it into a puppet so that C and her friends could actually play with it.

Here's how we made it:

Day 1
     First, I cut out brown circles and realized that they looked like bears so I made yellow circles instead.   The lions still have brown ears because...well...it was just easier than having to cut new ears also. 

    I had them glue ears on the back of the head. Then, I had C and K glue pasta on the lion's head for the mane.  We let the pasta dry on the lion's head overnight.


Day 2
I gave the children their lion's head and they glued it on to the top of the paper sack. Next, they glued the tail on the back of the puppet.   Then the eyes.  And walla!  Cute little lion puppets!  C and K had so much fun playing with them.


Roar!

    Were you scared?  Me neither.  But they sure tried!  This activity took a little more prep work than most other crafts and activities we do because they cannot cut yet.  They are able to glue everything on and do that by themselves.   There was a lot of cutting and tracing but look at their faces. They had so much fun!    It was well worth my time. 

      I keep all of her puppets in a file folder and then on rainy days I get them all out.   They love playing with them.

Thanks for stopping by!

Shawna


Pin It