Playful

Showing posts with label gift. Show all posts

Wednesday, May 2, 2012

Birthday in a box

Do you have a loved one that lives out of town?  Or is attending college?  For my mother-in-law's Birthday, I packed a Birthday in a box to surprise her on her special day since she lives out of town.    Do you want to see what's inside? 


The first thing in the box are chips ahoy 100 calorie pack cookies.  She loves them!    I took them out of the box so that they would fit easier inside. 

Next, I added  canvas art that I made using C's artwork.  You can read more on that here.


I wrapped up the frame and then put it in the box, sliding over a few of the chips ahoy calorie packs.
Then I added  cookies.  You cannot have a Birthday without a treat!

I wrote a little note on each.  One said "Birthday treat" the other one said "Birthday treat to share."
The fourth item I added was a homemade card.


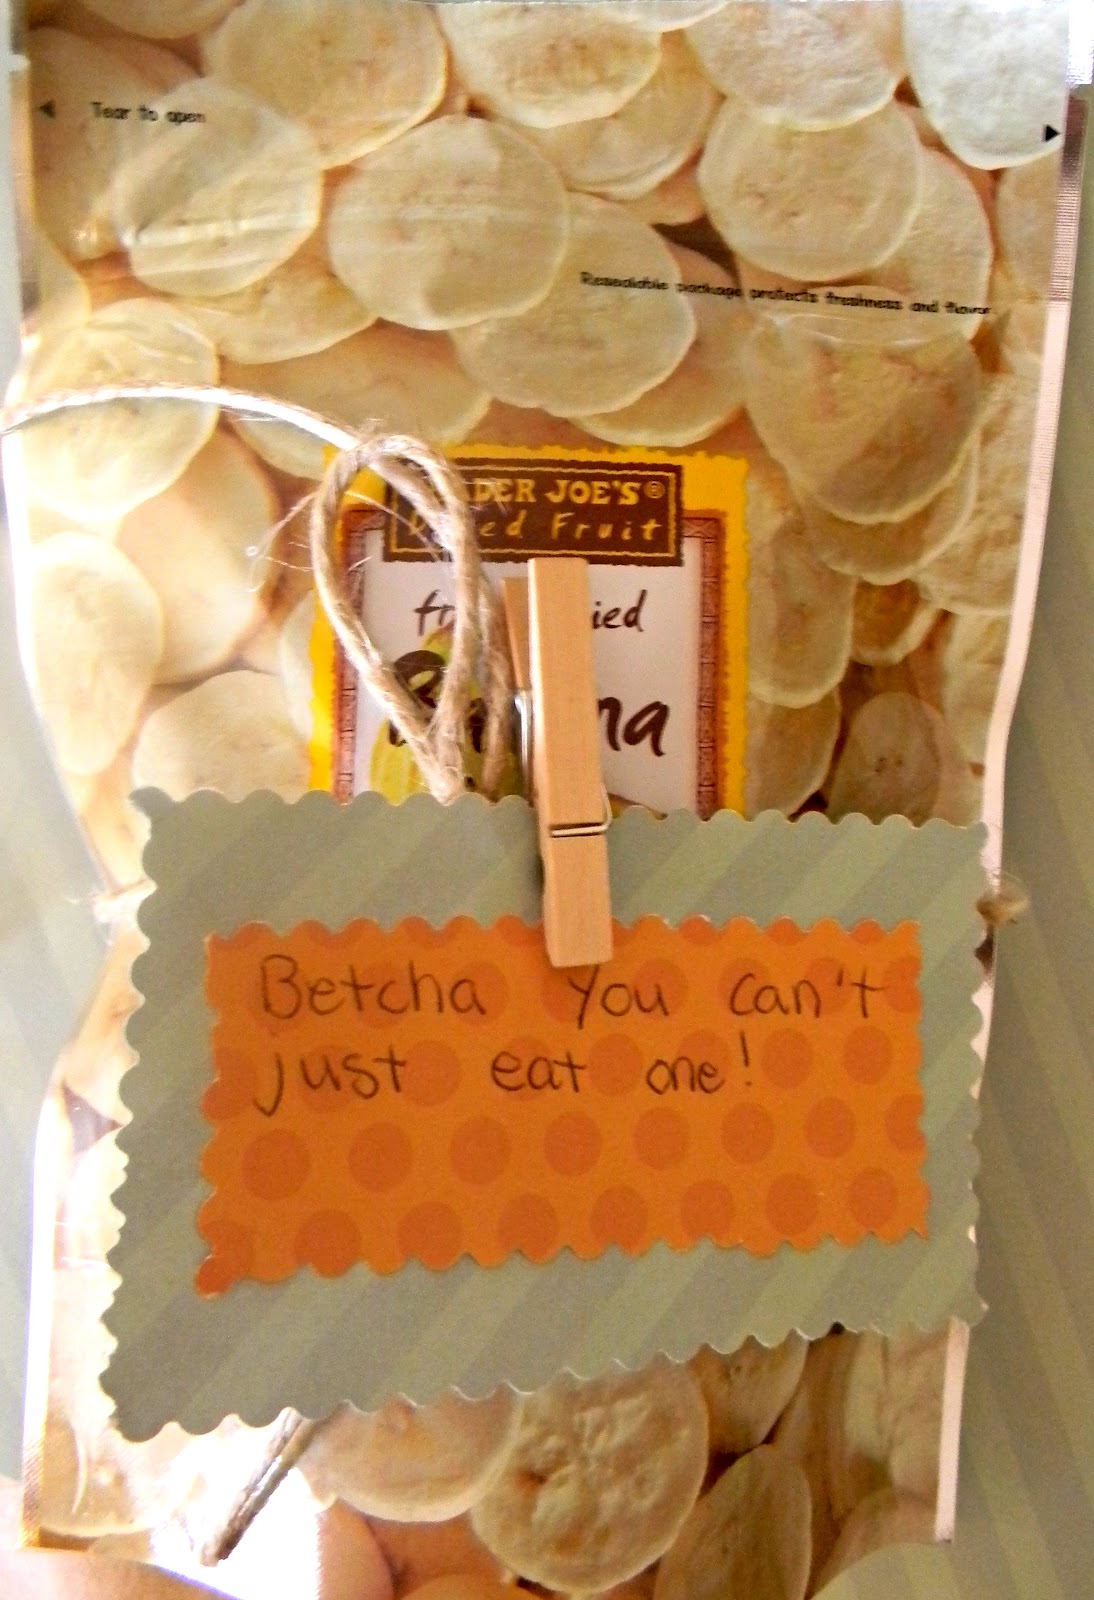
The fifth item in the box was freeze dried banana chips from Trader Joes.  We love them!  I added a little note for a personal touch.  C begs me to eat the strawberries and bananas for snacks. 


The sixth item I added was a banner that I made. 


The final item I added was a party horn.

I added streamers to fill in the space.


There you have it  my Birthday in a box! I love how it turned out!  Grandma was thrilled to receive it. 
Have you ever made a package for a loved one?  If not, you should!    They will love it!


I'm linking to
someday crafts
Christina's Adventures
the 36th Avenue
Gluesticks
loving this crazy life
tatortots and jello
Pin It

Sunday, April 29, 2012

Creating a Birthday Card


      I am excited to share with you a Birthday card that I made for my Mother-in-law's Birthday. I wanted to make something that was personal .  When thinking of creating a card, I think about a color scheme first and what supplies I have on hand. . 
    Next, I think about what I want on the outside and  inside.  I knew on the front I wanted it simple since I had unique plans for the inside.   I made 1 small traingle and then traced 4 more on different types of paper to make a banner.  I added 1 piece of confetti that says "Happy Birthday."  I found cardboard letter stickers at Wal Mart for $.99 and used those to say "happy Birthday."

    For the inside, I wanted to have a picture of C eating a cupcake (that we made in honor of her Grandma a few days earlier)  above the candles.

Here's how you make the candle part

     For the inside, I knew I wanted to have candles and use a picture of C blowing out a candle.
    To create the candle insert, I used the wrapper from the stickers.  Cut out  a rectangle 3 x 4.

Take double-sided tape and tape down the wrapper on 3 sides. 


Leave the top open and insert 2 Birthday confetti pieces and candles.  Next, tape the top of the wrapper.


At this point, I was creating and didn't think about seeing the tape lines of the candle insert.  I took some pink ribbon that I had from my scrapbooking box and glued around all the edges using fabric glue. 
I brought the ribbon all the way up to the picture and decided to cover those edges also.   


      On the other side, we wrote "This cupcake is made in honor of you."   C drew on the card for Grandma.
     After I finished the card, I realized that I needed an envelope to place the card in.  I grabbed a manilla file folder that I had in my closet (crazy, I almost got rid of those last week) and stared at it and said "There is no way I can put the pretty card in this ugly envelope" so I decided to beautify the envelope. 

I took some paper and just played around until I got a layout I liked.


     I am thrilled with how the card turned out. It adds a personal touch to her Birthday Box.  It took me about the same amount of time to make the card than it would have to go to the store and buy the card.


Thanks for stopping by!

Shawna

Pin It


I'm linking to
keeping it simple
todays creative blog
someday crafts
Christina's Adventures
the 36th Avenue
Gluesticks
loving this crazy life
I heart naptime

Tuesday, April 24, 2012

Happy Birthday Banner

     Today is my mother-in-law's Birthday. We were unable to travel for her Birthday this year.  I wanted to make her a special box filled with things C and I created and mail them (more to come soon!) so she would have something to open on her Birthday.  
     The banner is the first of several items that I created for her box. 


     Here is how I made the beautiful banner. I used this tutorial for guidance. I had 8 x 11 colored paper in my closet so I used that where the tutorial uses scrapbook paper.

Materials
  • paper for your pennants
  • ruler
  • paper cutter or scissors
  • jute
  • letters (you can make your own or buy them)
  • 3 pictures (optional)
Directions
1. Decide what paper you want to use.   I chose 8x11 paper in green, blue, yellow, orange, and purple.

2.  Measure a 4x6 rectangle on a sheet of paper.

3.  Cut it out.


4. Fold your paper in half hot dog style (lengthwise).


5. Open up your paper and at the top left corner, top right corner , and bottom center fold line mark an x.
6. You will make a cut connecting the upper left x with the middle x and the upper right x with the middle x. I used a paper cutter. If you don't have one, scissors will work, but your cut might not be as straight. Label that triangle Sample.


Label that triangle Sample.

7. Grab a sheet of paper you chose to use and fold it in half hamburger style or greeting card style. Place your sample on the fold and trace. Then cut out where you traced. Do not cut the fold. You are done if you want 1 layer!   If you want more than 1--continue reading.

,


8. After looking at it, I decided to make another layer. This time I measured 3 x 4.5 on a different colored paper. I used the same technique that I did for the first one but smaller measurements. Use steps 2-7.

9. I attached the smaller pennant to the larger pennant using a glue stick.

10. For lettering, I chose to use Alphabet stickers that I bought at Wal Mart for $3.  I chose a letter and placed it on the banner.  I wanted it to say Happy Birthday.


11.  After I finished attaching the letters to the pennants, I wanted to add a picture of C eating a cupcake that we made especially for Grandma.  We put a different picture on each pennant, 1 in the beginning, middle, and end.  I love the special touch that it adds to the banner. 


12. I attached the pennant with jute. The tutorial used double sided tape.   I tried using the tape and my pennants were falling off  so I got out the hot glue and attached the flags with glue.   I took the banner all over the house, hung it up outside, and it even withstood love from my 2 year old so I am confident with the banner staying in 1 piece.


13. Hang it up and stand back and admire your work of art.


I love how it turned out! Grandma will be thrilled to receive it. 


I'm linking to
Home stories A 2 Z
Funky polkadot Giraffe
Not just a housewife
someday crafts
Blue Cricket Design
house of hepworths
Christina's Adventures
young and crafty
I heart naptime


Pin It