Playful

Showing posts with label recipes. Show all posts

Tuesday, June 12, 2012

Homemade Lara Bars

      I love Lara Bars, but for $1 for 1 bar  their expensive.  I enjoy them because they are healthy, filling, and delicious.  They can easily be gluten and dairy free, which is a requirement around here these days.   I can eat one and be satisfied for a couple of hours and that's saying a lot.  I found this recipe here and changed it a little to my liking.


Here's how we made them

Ingredients
  • 1 package of Dates ( I use Sunsweet, you don't want a dry date.  I have used cheaper dates and the bars are drier and crumble.)
  • 1 cup of raw almonds
  • 1/4 cup of chocolate chips ( I used Enjoy life Dairy free, Gluten free, and soy free)

Get out your food processor


You will need almost 1 package of dates.  ( I had about 5 dates leftover from 1 package).  The more dates you have the softer and better your bar will hold together.  You can experiment with what works best for you.

1 cup of Almonds

Pour your dates and almonds in a food processor and pulse away.


Next add 1/4 cup of chocolate chips


Your little helper may want to have a bite or 2.


Dump mixture into pan.  I don't think you need to, but I always spray mine and have not had any problems with sticking.


Smooth the mixture in the pan.  I place in refrigerator about an hour to set.
Then slice into bars and enjoy!


I hope you make these and enjoy them as much as we do!  They are quick to make, easy,  filling, and help curb those late afternoon snack cravings.

Thanks for stopping by!

Shawna

Organize and Decorate Everything

Saturday, May 26, 2012

Fun in the kitchen-Whole wheat crackers

     Today I have an easy cracker recipe to share with you.   I know some of you may think I am crazy for making crackers.  I can go buy them in the store for $2-$4.  But after you make these, you can say bye bye to your store bought crackers.  These crackers are delicious, healthy, and easy to make.  We eat very little processed foods in our house and crackers were one of them that still bugged me, just look at the ingredients listed on a cracker box, even the organic ones. Then when I found  this recipe, I decided it was time to try making my own.

     Kids love helping out in the kitchen.  I try to involve them in as much as I can with making our lunches and snacks.  I believe that if kids help make healthy food from little on it can help create an overall healthy eater. 

  Here's how we made the crackers


I placed all ingredients in food processor except water and vanilla and pulsed the mixture until crumbly.


Then add water and vanilla and pulse again until evenly combined.  Form into a dough.
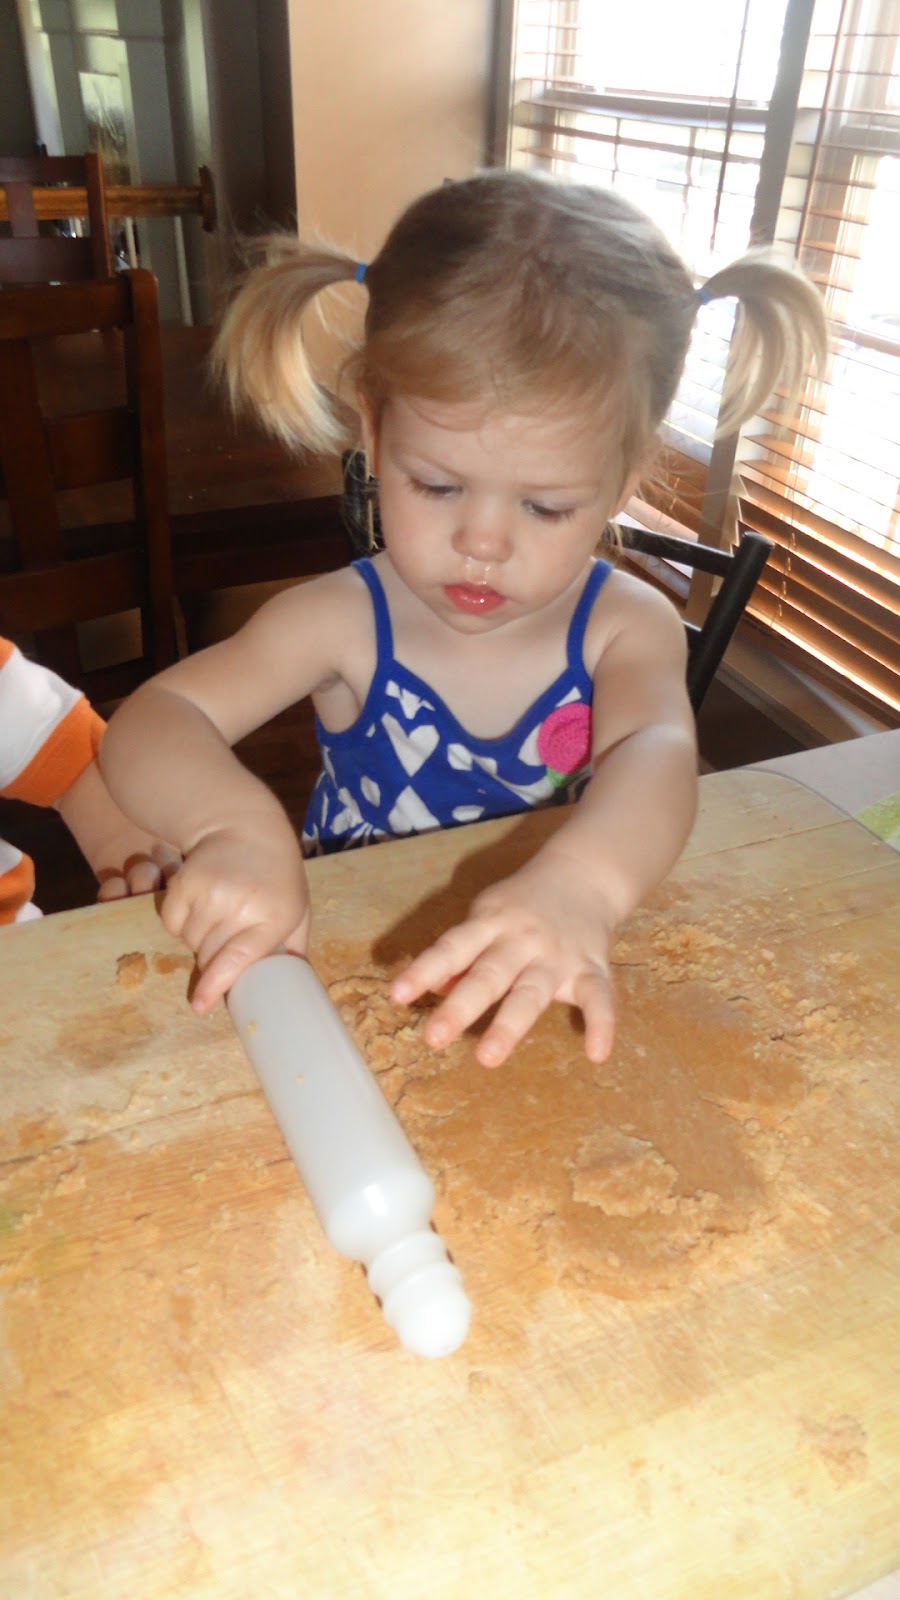
Next the fun part, roll out dough as thin as possible.


Take turns rolling.


Little A was trying to roll the pin sideways and figured out by herself that it was not working.


She self-corrected herself without any help just exploration.


Taking turns.  Look how patiently K and A are waiting.  Baking and cooking are  great ways to teach sharing and taking turns!  Each kid will stop and say your turn, my turn. 


    After you have finished rolling them out cut them with a cookie cutter and place them on a baking sheet.  Bake for 10 minutes at 400 degrees.
  
     The kids had a great time helping me roll out crackers! Seriously, crackers are so easy to make, dump ingredients in a food processor and mix and then roll the dough and cut into squares and bake! It takes about 15 minutes with the help of lovely assisstants to have homemade whole wheat crackers with wholesome ingredients. We usually eat the crackers with cheese for lunch along with fruits and vegetables.

Thanks for stopping by!

Shawna


Pin It

Monday, April 16, 2012

Freezer-friendly chocolate chip cookies

     I love chocolate chip cookies.  I especially enjoy them when they are fresh out of the oven.


     Every month I make a double batch of cookies.  I bake about 6 of them and then I prepare the rest for the freezer.  Here is my process:

1.  Prepare the dough and bake the amount of cookies that you want now.  I usually bake 6.  1 for daughter, 2 for me during naptime, 2 for my husband, and another 1 for me to enjoy with my husband while he is eating his.  

2.  Make balls from the rest of the dough and place them on a plate.  Leave a little space between each one so they don't stick together.  Try not to eat all of them before you put them in the freezer.


3.  Place the plate in the freezer for 1-2 hours.


4.  Remove the plate and place the cookies in a freezer bag.  I label the bag with chocolate chip cookies and the date. (Not that mine will ever be in the freezer long enough to be thrown out!)   I have a HUGE sweet tooth and no self-control. For me, it helps to have to bake the cookies and  have a small amount in the upstairs freezer.  I keep the rest of the bag in our deep freeze (2 levels below our kitchen).  By cooking a small amount it keeps them out of sight of the children so they don't beg me for them all day.


5.  When you are craving cookies or having company, turn on the oven to 325 degrees, (I usually bake at 350 because I forget the recipe I use calls for 325 degrees), pull out your silicone baking cover (or spray the pan), baking pan, take 2-6 frozen balls out of the freezer, place them on the pan, and bake for about 20-22 minutes. 


     This method is great for unexpected company, you can easily bake fresh homemade cookies and your guests will have no idea that they were pulled out the freezer and popped in the oven right before they walked in the door.
   
Right now here is my favorite chocolate chip cookie recipe:
Thick and Chewy Chocolate Chip Cookies
2 cups plus 2 tbsp. all-purpose flour
1/2 tsp. baking soda
1/2 tsp. salt
12 tbsp. unsalted butter, melted and cooled until warm
1 cup brown sugar, packed
1/2 cup granulated sugar
1 large egg plus 1 egg yolk
2 tsp. vanilla extract
1 1/2 cups semi-sweet chocolate chips ( I have also used chocolate chunks)

Directions:
Adjust oven racks to upper and lower-middle positions. Preheat oven 325°. Line two cookie sheets with parchment paper.
Whisk dry ingredients together in a medium bowl; set aside. With electric mixer, or by hand, mix butter and sugars until thoroughly combined. Beat in egg, yolk, and vanilla until combined. Add dry ingredients and beat at low-speed just until combined. Stir in chocolate chips.
Roll a scant half-cup of dough into a ball. Holding dough ball in fingertips of both hands, pull apart into two equal halves. Rotate halves 90 degrees and, with jagged surfaces facing up, place formed dough onto cookie sheet, leaving ample room between each ball. Bake, reversing position of cookie sheets halfway through baking, until cookies are light golden brown and outer edges start to harden yet centers are still soft and puffy (approximately 11-14 minutes). Do not overbake. 
Please note 11-14 minutes is for unfrozen cookies.  20-22 minutes is the amount of time for frozen cookies. 

Cool cookies on sheets until able to lift without breaking. Transfer to a wire rack to cool.


I'm linking to