We used poms poms and eyeballs(they love those) and glued them on the letter L that I wrote. They used paintbrushes to paint glue on the the letter L. Next, they attached eyeballs and pom poms to their letter. Their imaginations were running wild! As they were creating, they were showing me their monsters and telling me how many eyes they put on their letter and what color of pom poms they were using.
Wednesday, May 9, 2012
Letter L-Simple Activity
We do a variety of activities around here. My goal each week is to provide children with fun learning activities. Today's activitiy is simple and requires little prep work. Before doing this activity, I showed them a lion, the letter L card, and a letter L button. We pointed and said the letter and the sound.
We used poms poms and eyeballs(they love those) and glued them on the letter L that I wrote. They used paintbrushes to paint glue on the the letter L. Next, they attached eyeballs and pom poms to their letter. Their imaginations were running wild! As they were creating, they were showing me their monsters and telling me how many eyes they put on their letter and what color of pom poms they were using.
Overall, the activity was nothing fancy. But the kids loved it. They were learning and having fun! Best of all, it required little prep and I had all the materials on hand.
We used poms poms and eyeballs(they love those) and glued them on the letter L that I wrote. They used paintbrushes to paint glue on the the letter L. Next, they attached eyeballs and pom poms to their letter. Their imaginations were running wild! As they were creating, they were showing me their monsters and telling me how many eyes they put on their letter and what color of pom poms they were using.
Tuesday, May 8, 2012
Car control Overhaul Update-1 week to go
Unfortunately, I don't have pictures of how messy my car was before I cleaned it. Lucky me!
There were toys thrown all over the backseat, extra pair of clothes for C, and random food and wrappers. It only took 10 minutes to wipe everything down including C's carseat and remove all the trash, organize the trunk, and remove the extra toys. Just taking that 10 minutes was well worth it and makes such a difference.
Now, I still need to vacuum the car and clean the windows. I also plan on cleaning the outside of the car. But it looks much nicer than it did!
As far as the organizer progress, I made one organizer which takes care of toy clutter. (Pics to come soon). I also would like to keep wipes and hand santizer in the car. I do much better when everything has a place to live. I still need to make an organizer that holds supplies so we'll see what I come up with for that.
I started taking C's trash every time we leave the car and picking up random food that pops up. It is easier to do it every time you get out of the car and it just takes an extra few seconds.
How do you keep your car clean? Do you have an organizer for random items? Do you let your kids eat in your car?
Sunday, May 6, 2012
Remembering quotes through child's artwork
When C says something cute I think I need to go write that in her baby book or scrapbook, but life happens and I hardly get to do that. I am trying to find ways to remember funny or cute things C says. I am always looking for different ways to display her art. Then I remembered this and it hit me, I can use her artwork to record funny or cute things she says. Two for the price of one. Love it!
Recently, when something is funny instead of her laughing she says "That's too funny." I think it is hilarious and want to remember it. When she is driving me crazy, I can walk by it and stop and smile. Trust me it works! The other night she was procrastinating at bedtime. My husband was working late and I was ready for her to go to bed. She was too tired and crabby. I was starting to get frustrated and then I looked up and saw the frame and smiled, took in a deep breath, and pulled it together to put her to bed.
Here's how you make one
I have stencils, but they were too big for the 8x 11 frame I planned on using so I free handed the letters. It took about 15 minutes to make letters and cut them out.
Then, I laid the stencils on the artwork and traced them.
Next I glued the letters to the paper using mod podge. On the bottom right corner, I wrote her name and age so I would remember how old she was when she created the art and said the quote.
I used white construction paper cut to fit the frame.
Next, I put the paper into the frame and ta da! That's all. It's simple and easy. You have a one of a kind custom piece of art. C and I love it! She is so proud to see her artwork hanging on the wall.
I plan on recording her quotes this way and displaying them at her Birthday each year. Her quotes might come back to haunt her at her high school graduation.
Thanks for stopping by!
Shawna
I'm linking to
young and crafty
Keeping it Simple
Craftomaniac
C.R.A.F.T
The Southern Institute
someday crafts
House of Hepworths
Christina's Adventures
Gluesticks
Two Sasters
Saturday, May 5, 2012
Blocks turned into learning dice
If you have blocks and kids you will love this idea or post! With toddlers their attention span is very small and I am constantly thinking of activities that are quick, easy, and educational. What's great about this idea is it can easily be modified for older children as well. The other day I was thinking of how much my children would love rolling dice and then it hit me....the block set that we have has the perfect size cubes for dice for younger children.
These dice are perfect because they are large enough to not be a choking hazard and the kids have a blast rolling the dice and running for it on the other side of the room. Not to mention its a great movement-hands-on learning activity. Their learning and reviewing at the same time. Best of all, they were free! I already owned them. My kids never build with the small cubes so I figured I would put them to use.
Materials you will need to make the dice
- Cubes
- Sharpie or pen
- Stickers
These dice can be used to review the following:
animal sounds( you can write the animal sound and have the child say the animal or you can write the animal and have them make the sound.
animals (put pictures of animals on each side)
uppercase letters
lowercase letters
colors
sight words
numbers
multiplication facts
addition facts
subtraction facts
division facts
vocabulary words
shapes
Sight word dice.
The word that is on the top, that is the word the child reads. This dice has at words.
colored dice
animal sound dice
Say the sound and have the child say what animal it is. Or on the top you see dog, say dog and the child would say the sound "woof."
You can put on the dice what you feel your child needs the most help with. For example, there are about 5-6 lowercase letters that C mixes up so she has a lowercase cube. It helps to put a couple letters or items that you know they know or they love. This helps build their confidence and keeps the activity from being overwhelming.
Modifications: Leave 2-3 sides blank and if it rolls on that, then the child gets a freebie and gets to roll again. This is great for children with short attention spans.
I'm linking to
I heart naptime
I can teach my child
No Time for Flash Cards
abc and 123
someday crafts
Thursday, May 3, 2012
Fishbowl craft with letters
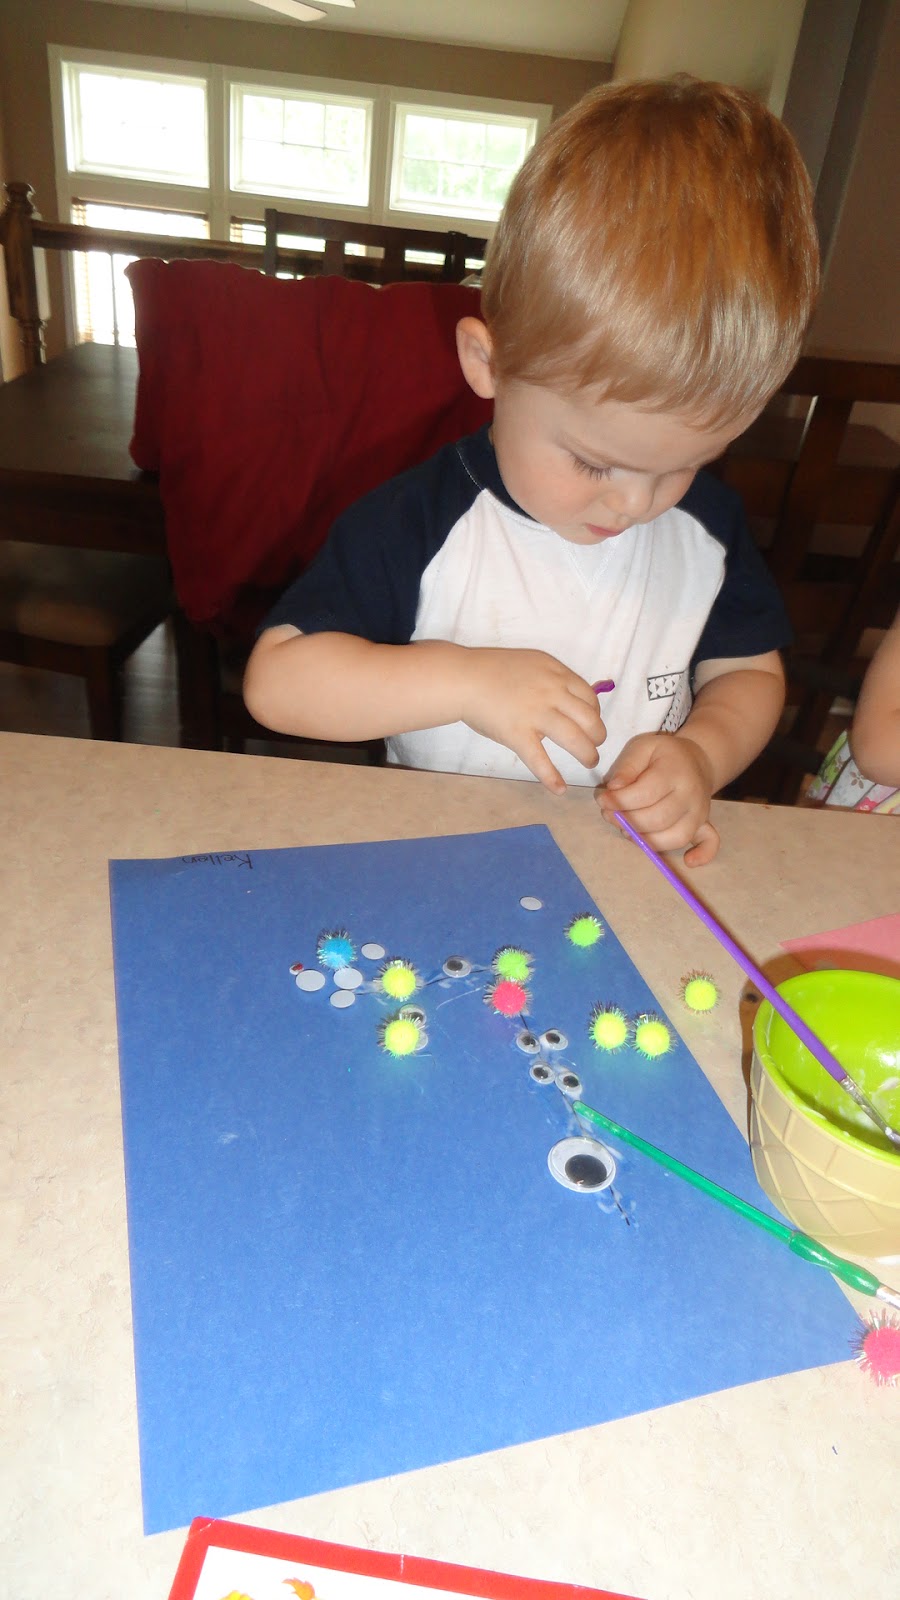
One of the crafts that we made during F week was a fishbowl.
This one was supposed to have F and f also, but she wanted m on there and toddler time is supposed to be fun and not stressful so I let her have the m and she loves it. I had her give me a word that started with the letter m and a word that started with the letter F.
Do you want to make one? I will tell you how. I don't have step by step pictures because it was difficult to take pictures along the way that day.
Materials you will need
2. Have the children paint the bowl.
3. Make a fish pattern and cut it out and put a letter on it.
4. Let the paint dry.
5. Have the children glue the fish on their bowl.
6. Glue plants if desired.
Modifications: Instead of letters, you could use numbers, sight words, you could leave the fish blank and work on colors, or count by 10's, 5's, or 2's. Or you could print out objects or find stickers that start with the letter in your bowl and glue them on the bowl. There are so many options for this craft. Go ahead and make one! Your children will love it and learn at the same time!
This activity is great because children love their art displayed. Their artwork can be used as a learning tool for the week. Throughout the week you can ask them what letter is on the fish? What does f say? And what words start with that letter f.
I'm linking
no time for flashcards
I can teach my child
Look closely for the letter F and f. After we glued the fish on K wanted to get down and play, which was fine. Working with toddlers needs to be quick activities or activities where you can break it up into smaller segments. For example, paint the bowl one day and then glue the fish and the plants on the next day or in this case we just left the plants off and he pasted his fish on the wet bowl.
This one was supposed to have F and f also, but she wanted m on there and toddler time is supposed to be fun and not stressful so I let her have the m and she loves it. I had her give me a word that started with the letter m and a word that started with the letter F.
Do you want to make one? I will tell you how. I don't have step by step pictures because it was difficult to take pictures along the way that day.
Materials you will need
- blue paint, color, or markers
- construction paper for the fish and plants
- white paper for the fishbowl (I used construction, but card stock would work best)
- glue
2. Have the children paint the bowl.
3. Make a fish pattern and cut it out and put a letter on it.
4. Let the paint dry.
5. Have the children glue the fish on their bowl.
6. Glue plants if desired.
Modifications: Instead of letters, you could use numbers, sight words, you could leave the fish blank and work on colors, or count by 10's, 5's, or 2's. Or you could print out objects or find stickers that start with the letter in your bowl and glue them on the bowl. There are so many options for this craft. Go ahead and make one! Your children will love it and learn at the same time!
This activity is great because children love their art displayed. Their artwork can be used as a learning tool for the week. Throughout the week you can ask them what letter is on the fish? What does f say? And what words start with that letter f.
I'm linking
no time for flashcards
I can teach my child
Wednesday, May 2, 2012
Birthday in a box
Do you have a loved one that lives out of town? Or is attending college? For my mother-in-law's Birthday, I packed a Birthday in a box to surprise her on her special day since she lives out of town. Do you want to see what's inside?
The first thing in the box are chips ahoy 100 calorie pack cookies. She loves them! I took them out of the box so that they would fit easier inside.
Next, I added canvas art that I made using C's artwork. You can read more on that here.
I wrote a little note on each. One said "Birthday treat" the other one said "Birthday treat to share."
The fourth item I added was a homemade card.
The fifth item in the box was freeze dried banana chips from Trader Joes. We love them! I added a little note for a personal touch. C begs me to eat the strawberries and bananas for snacks.
The sixth item I added was a banner that I made.
The final item I added was a party horn.
I added streamers to fill in the space.
There you have it my Birthday in a box! I love how it turned out! Grandma was thrilled to receive it.
Have you ever made a package for a loved one? If not, you should! They will love it!
I'm linking to
someday crafts
Christina's Adventures
the 36th Avenue
Gluesticks
loving this crazy life
tatortots and jello
The first thing in the box are chips ahoy 100 calorie pack cookies. She loves them! I took them out of the box so that they would fit easier inside.
Next, I added canvas art that I made using C's artwork. You can read more on that here.
I wrapped up the frame and then put it in the box, sliding over a few of the chips ahoy calorie packs.
Then I added cookies. You cannot have a Birthday without a treat!
I wrote a little note on each. One said "Birthday treat" the other one said "Birthday treat to share."
The fifth item in the box was freeze dried banana chips from Trader Joes. We love them! I added a little note for a personal touch. C begs me to eat the strawberries and bananas for snacks.
The sixth item I added was a banner that I made.
The final item I added was a party horn.
I added streamers to fill in the space.
There you have it my Birthday in a box! I love how it turned out! Grandma was thrilled to receive it.
Have you ever made a package for a loved one? If not, you should! They will love it!
I'm linking to
someday crafts
Christina's Adventures
the 36th Avenue
Gluesticks
loving this crazy life
tatortots and jello

Tuesday, May 1, 2012
Car control overhaul
I must admit I am embarrassed with my car's cleanliness or lack thereof. It's awful. I must also terribly admit I blame the kid. Her clothes, her toys, her trash, and her food. I know I'm the adult, but I decided that she is old enough and the car needs help. My front seat has been in control for over a year its her area that I strugglet to keep clean. I plan on making or buying car organizers to help control the chaos so I'm not remembered of how dirty it is EVERY time I get in the car. I am looking forward to enjoying riding in my car again.
I was looking for different ideas on-line and decided that my car would benefit from a couple of organizers. First, I want something that C can reach from her seat. While were driving, she can get books out and put them away. Then when we arrive to where we are going, she will be responsible for putting them away.
Second, I know we will benefit from a pocket organizer that will hold snacks, drink, sunscreen, hand sanitizer, wipes, extra pair of underwear and clothes, and band aids. This is a shoe organizer. All I need to do is go buy one and hang it up.
Finally, I want a larger bag that can hold a DVD player and a couple larger toys for road trips. When we get to a place, we can untie it and bring it into wherever we are going and we have instant toys. I like the idea that it doesn't take up floor space and toys are always there if we need them.
Now, off to the fabric store to get some adorable fabric and get to work. I cannot wait to have a clean car. I am giving myself 2 weeks from today to have a clean and organized car. I will report back with pictures. My husband will have no idea what happened and I won't be embarrassed for people to come in my car.
I was looking for different ideas on-line and decided that my car would benefit from a couple of organizers. First, I want something that C can reach from her seat. While were driving, she can get books out and put them away. Then when we arrive to where we are going, she will be responsible for putting them away.
source: just sew sassy
Second, I know we will benefit from a pocket organizer that will hold snacks, drink, sunscreen, hand sanitizer, wipes, extra pair of underwear and clothes, and band aids. This is a shoe organizer. All I need to do is go buy one and hang it up.

source: Decor-ganize
Finally, I want a larger bag that can hold a DVD player and a couple larger toys for road trips. When we get to a place, we can untie it and bring it into wherever we are going and we have instant toys. I like the idea that it doesn't take up floor space and toys are always there if we need them.

Now, off to the fabric store to get some adorable fabric and get to work. I cannot wait to have a clean car. I am giving myself 2 weeks from today to have a clean and organized car. I will report back with pictures. My husband will have no idea what happened and I won't be embarrassed for people to come in my car.
Subscribe to:
Posts (Atom)